If you would like to create your own online e-mail system, you can use iRedMail. In this article, we will explain how you can do it.
Step 1 – Droplet Creation
We use a 2 CPU Core / 2GB RAM droplet with Ubuntu 12.04 x64 image.
iRedMail is currently supported on Ubuntu 12.04 LTS and Ubuntu 13.04, among many other distributions of Linux.
If you have a domain name you want to use, name your droplet as that domain name, which will become its hostname and reverse DNS record.
Step 2 – Create a Domain Name
For our Cloud Mail purposes, we will register a free domain, cloudmail.tk from dot.tk
Once you have your domain name registered, point it to DigitalOcean’s name servers:
ns1.digitalocean.com (198.199.120.125)
ns2.digitalocean.com (141.0.170.89)
ns3.digitalocean.com (198.199.95.114)
Make sure to check those IP addresses manually, as they may have changed since the time this article was written.
Now open your Control Panel on DigitalOcean and click DNS, located under Labs section.
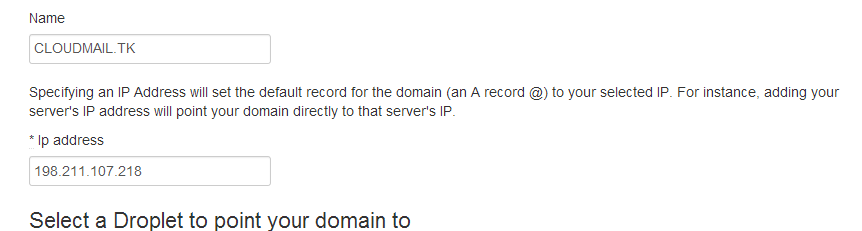
Click Add Domain and create a new record by pointing your new domain to your droplet’s IP address:
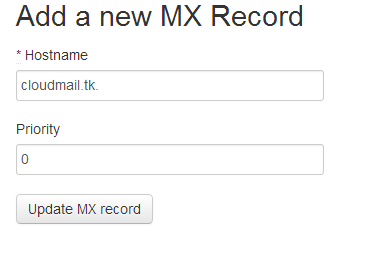
Create a new MX record, make sure to have a trailing dot at the end of your domain name:
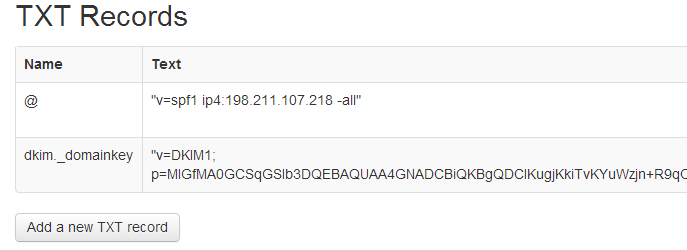
Add SPF records to make sure others cant spoof emails by pretending to send them from your domain.
Make sure to have “-all” in your SPF record, and point it to your droplet’s IP.
The record’s format would be “v=spf1 ip4:IP_ADDRESS -all”

There will be one more record to add after you have finished installing iRedMail – DKIM key.
Step 3 – iRedMail Installation
Make sure to set the hostname of your domain name, if you haven’t done this during droplet creation:
wget https://bitbucket.org/zhb/iredmail/downloads/iRedMail-0.8.6.tar.bz2tar jxvf iRedMail-0.8.6.tar.bz2 && cd iRedMail-0.8.6hostname cloudmail.tkbash iRedMail.sh
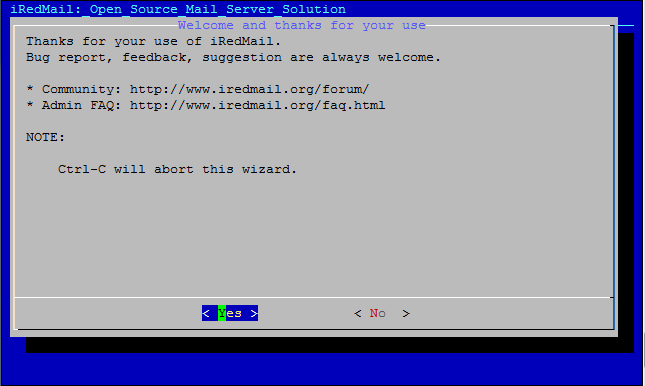
You are greeted with a Graphical User Interface Installer by iRedMail:
If you have several droplets, you can even use GlusterFS for distributed, replicated e-mail storage, providing further redundancy:
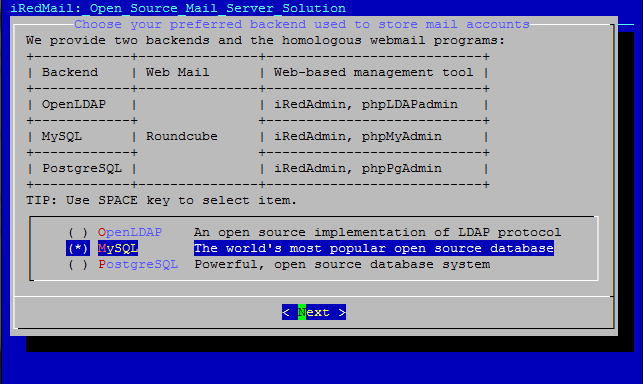
For backend, we chose MySQL. You can also use OpenLDAP and PostgreSQL:
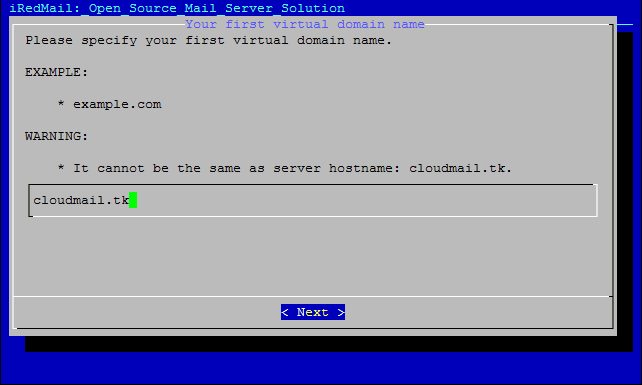
Since we have registered a domain in Step 2, we will place it here:
From package selection, you can omit phpMyAdmin and Fail2Ban.
When asked whether you would like to use firewall rules provided with iRedMail, select ‘No’.
Firewall rules should be custom made for each server, and adopting a DROP ruleset from iRedMail’s package is not recommended.
We would also not recommend using Fail2Ban from their package, as it banned our own IP when we refreshed a page.
Reboot your droplet after completion.
All of the installation notes and logs can be found in iRedMail.tips file ( /root/iRedMail-0.8.6/iRedMail.tips ).
Here you will have information on passwords, SSL certificate locations, and DKIM records.
Add the DKIM record to DigitalOcean’s DNS control panel for your domain:
Step 4 – Add SSL Certificate
Although this step is optional if you just want to use self-generated certificate, we would still recommend getting a trusted SSL certificate.
By default, iRedMail will create a self-signed certificate and store it in /etc/ssl/certs/iRedMail_CA.pem and /etc/ssl/private/iRedMail.key
We can get a free SSL certificate from InstantSSL
You would need to create a CSR and private KEY first:
cd /etc/sslopenssl req -out cloudmail.tk.csr -new -newkey rsa:2048 -nodes -keyout cloudmail.tk.key
This will generate 2 files: cloudmail.tk.csr (your Certificate Signing Request file), and cloudmail.tl.key (your private SSL key which should not be shared with anyone).
You would provide the CSR file (cloudmail.tk.csr) to InstantSSL during SSL request.
After they have validated your request, you will receive the certificate file (in zip format) that contains two files:
cloudmail_tk.ca-bundle (your SSL certificate bundle)
cloudmail_tk.crt (your SSL certificate)
Place both files to /etc/ssl and modify /etc/apache2/sites-available/default-ssl
SSLCertificateFile /etc/ssl/cloudmail.tk.crtSSLCertificateKeyFile /etc/ssl/cloudmail.tk.keySSLCACertificateFile /etc/ssl/cloudmail.tk.ca-bundle.crt
Restart Apache
service apache2 restart
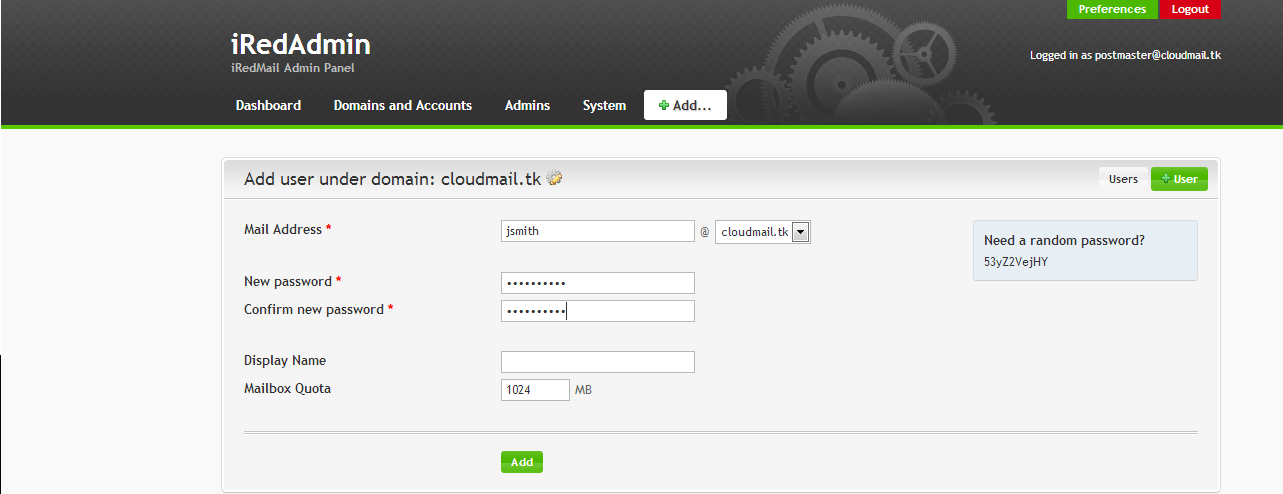
Now you should have SSL enabled, and you can proceed to logging in to iRedAdmin (https://cloudmail.tk/iredadmin/ ) with username postmaster@cloudmail.tk and password you provided during installation in Step 3.
From iRedAdmin, you can add new users, new admins, and new domains into your system:
Once you have created an e-mail account, you can access it at https://cloudmail.tk/mail/
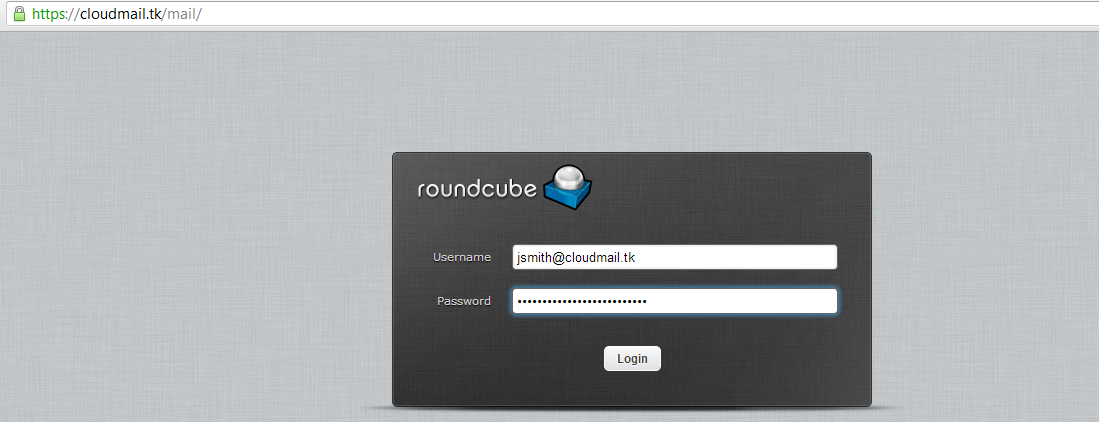
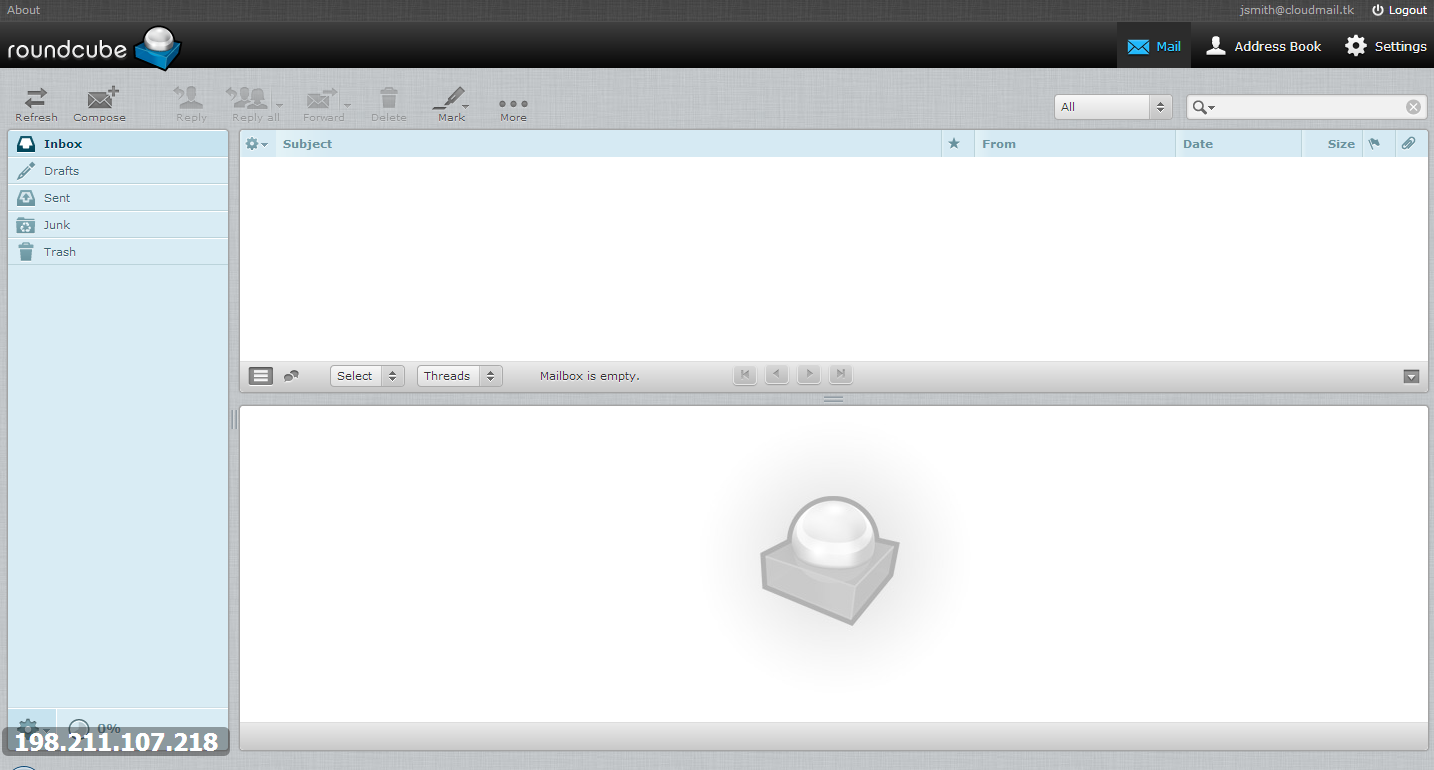
And you are all done!
Reprint Please Indicate:How To Install iRedMail On Ubuntu 12.04 x64
![46bea3d130171e1de2839d659c6188ca-300x148[1]](https://hkvhost.files.wordpress.com/2014/11/46bea3d130171e1de2839d659c6188ca-300x1481.jpg)